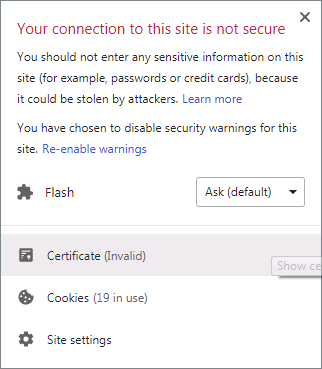
Microsoft Windows exercises more restricted security control when connecting to a WebDAV server over HTTPS. The server must have a valid SSL certificate for its domain name or IP. Further configuration is needed if the certificate is self-signed; otherwise, the connection fails with suspicious error messages. In our example, the WebDAV service runs on IP 192.168.56.2 and uses a self-signed certificate (for example, one generated through SSL Certificate Creation Wizard in TSRMC). Steps 1 and 2 can be skipped if an SSL certificate file is already present.
1. Access the following URL in the browser.
https://192.168.56.2
2. Click on the 'Site Information' icon in the browser's address bar and, open the certificate information dialog, export the certificate to a local file, e.g. 192.168.56.2.crt. If you are using Internet Explorer, you might need to run it as an admin to be able to export the certificate.
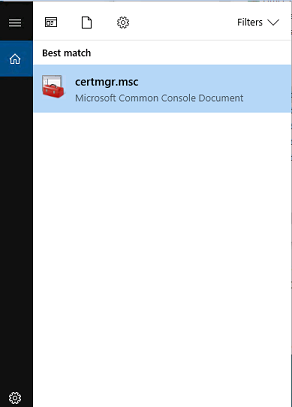
3. Click the Windows Start button to search for program certmgr.msc.
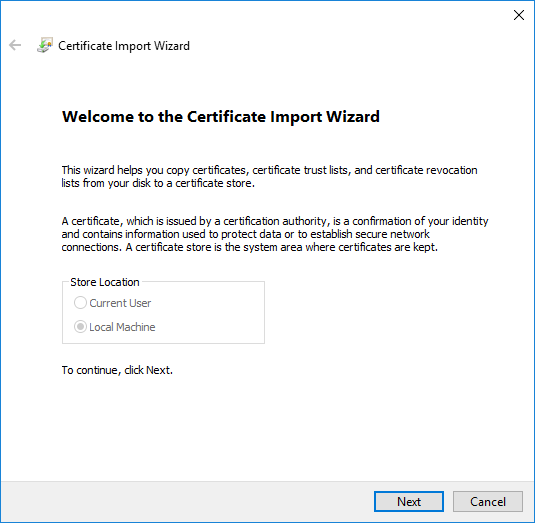
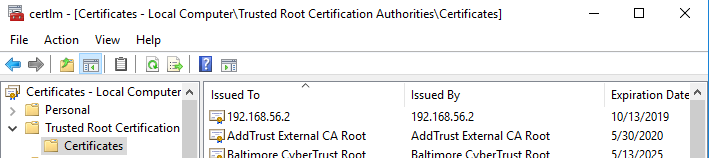
4. Right-click Certificates -> Trusted Root Certification Authorities, and select All Tasks -> Import to bring up the Certificate Import Wizard. Use the Browse button to provide the exported certificate file, and click Next.

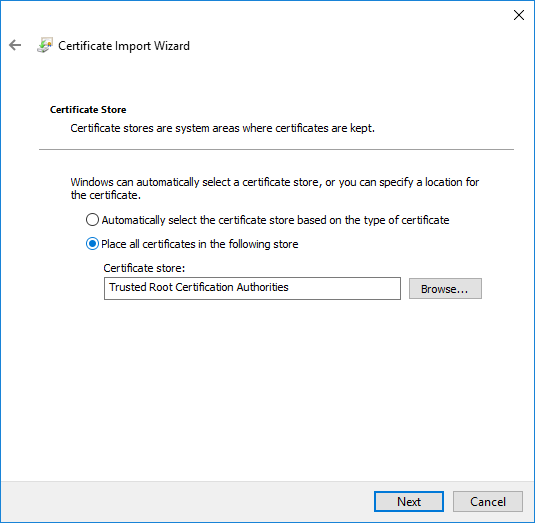
5. Select Place all Certificates in the following Store. Click Browse, check the option Show Physical Stores, expand the tree, select Trusted Root Certification Authorities -> Local Computer, then click OK and Finish.
The self-signed certificate has now been imported. You might need to re-launch certmgr.msc to see the effect.
Now we can map the WebDAV path as a network drive.
