TurboFTP Server's Management Console has a wizard that helps you set up your private file cloud in less than five minutes. We now walk you through the easy steps to create and start a domain.
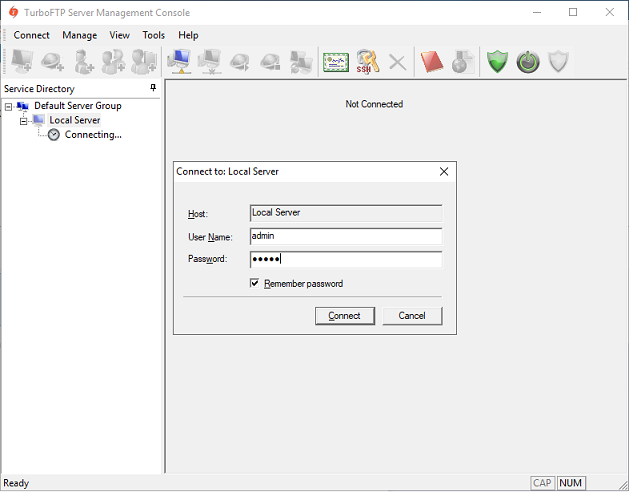
Launch and log into TurboFTP Server Management Console
Double-click the "Local Server" node to bring up the Connect dialog, and log in with the administrator credentials you specified during installation.
Add a Domain
Select menu Manage -> Add Domain Wizard
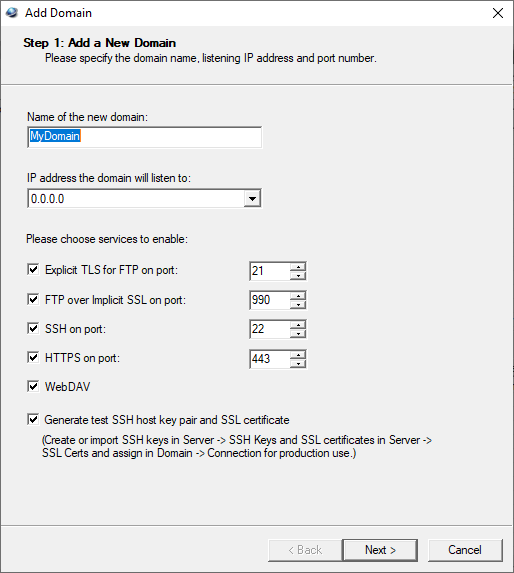
Choose the services to use and change the port number if needed. We select HTTPS service. Click Next and assign the domain root folder.
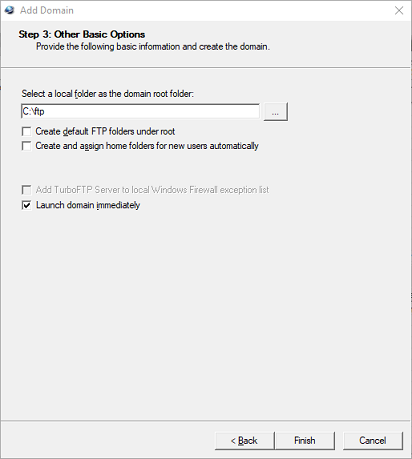
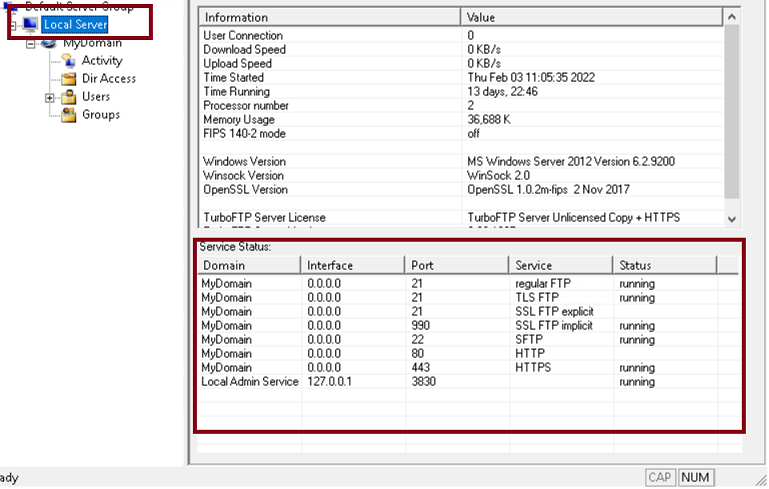
Click Finish and start the domain. And check the status of the domain.
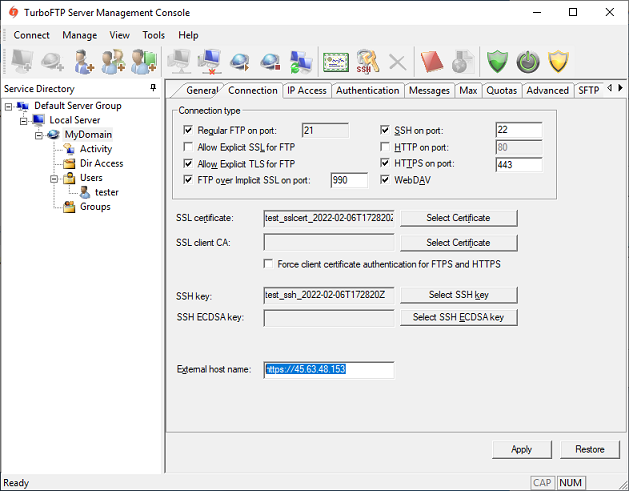
Assign "External hostname"
In the Domain -> Connection tab, make sure the "External hostname" is correctly populated. It can be the external IP or, preferably, the domain name (for example, mycloud.turboftp.com) to access the server. Apply the change.
Add a User
Select the Domain node, and select the menu Manage -> Add User Wizard. Specify the new user's username, password, and home directory.
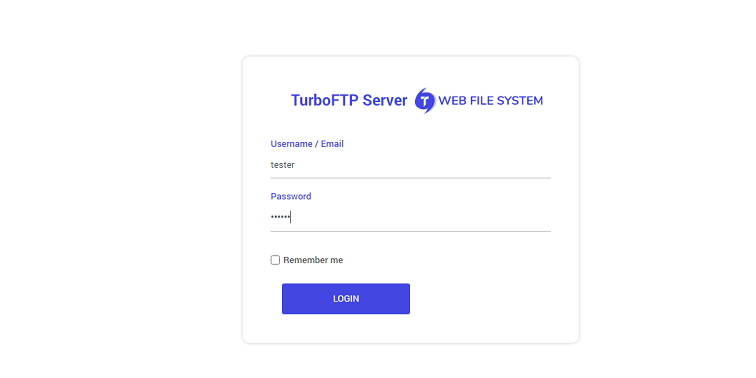
Log into web UI
Launch a browser and enter https://mycloud.turboftp.com; you can see the web UI login screen. You can also upload and access your files through other enabled services like SFTP, WebDAV, etc.