How to fix OpenSSH authentication error "server doesn't accept public key"
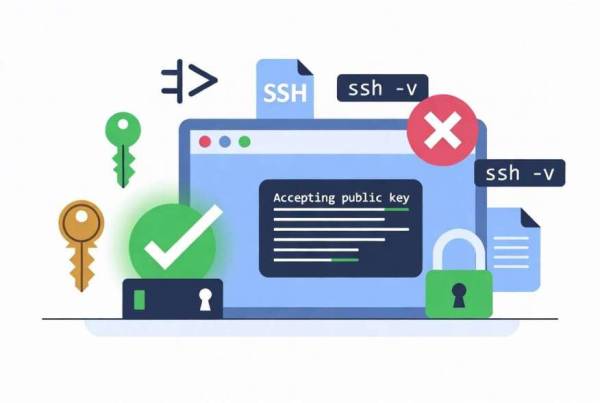
When using an SSH client to connect to an OpenSSH server, you might encounter the error message "server doesn't accept public key". This article provides a step-by-step guide to troubleshoot and resolve this issue.
Step 1: Check and Modify `sshd_config`
The OpenSSH daemon configuration file (`sshd_config`) on the server may need to be adjusted.
1. Open the `sshd_config` file with a text editor:sudo nano /etc/ssh/sshd_config2. Ensure `PasswordAuthentication` is enabled by adding or modifying the following line:PasswordAuthentication yes3. Address deprecated algorithms. Recent versions of OpenSSH have deprecated some SSH host key algorithms, such as `ssh-rsa` and `ssh-dsa`, disabling them by default for security reasons. It is recommended to avoid using these algorithms. Instead, use `rsa-sha2-256` or `rsa-sha2-512`.
If necessary, allow deprecated algorithms temporarily by adding the following line:PubkeyAcceptedAlgorithms +ssh-rsa,ssh-dss**Note:** This is not recommended for long-term use due to security concerns. Ideally, update your SSH client to support more secure algorithms.
Step 2: Ensure the Public Key is in the Authorized Keys File
Make sure the public key of the user trying to connect is correctly placed in the `authorized_keys` file on the remote server.
1. Navigate to the user's SSH directory:cd ~/.ssh2. Open the `authorized_keys` file:nano authorized_keys3. Verify that the public key you want to use for the connection is present in this file. The format should be correct and there should be no extra spaces or line breaks.
Step 3: Restart the SSH Daemon
After making changes to the `sshd_config` file, restart the SSH daemon to apply the new settings.
1. Restart the SSH daemon using `systemctl`:sudo systemctl restart sshd
Step 4: Verify Client and Server Key Compatibility
Ensure that the SSH client and server have compatible key algorithms.
1. If your SSH client only supports `ssh-rsa` and the server does not accept it, you will see errors like "server doesn't accept the public key" or "server rejects the public key."
2. Update your SSH client configuration to support more secure algorithms (`rsa-sha2-256` or `rsa-sha2-512`) if possible. Refer to your SSH client's documentation for specific instructions on how to do this.
Step 5: Authenticating username exists on the remote server
Make sure the SSH client is authenticated with a username that exists on the remote SSH server. An SSH server normally starts with the public authentication with a probing request, which contains only the username, the public key type, and the public key blob. The server validates the supplied information and determines if it proceeds with the actual authentication further, which involves expensive calculation with public key algoritem like RSA, ECDSA or EdDSA (signature verification). If the username doesn't match any user profile on the server, the server will reject the public key too. Let's take an example, the user alice exists on the server, but the user connects with an SSH client under user Bob's command-line prompt.
ssh remote-ssh-server
The client will send the authentication request containing username 'bob', which in turn get rejected by the server.
Conclusion
By following these steps, you should be able to resolve the "server doesn't accept public key" error when connecting to an OpenSSH server. Remember to prioritize security by using up-to-date algorithms and configurations. If issues persist, consult the OpenSSH documentation or seek further assistance from system administrators.
If you are using TurboFTP Server to provide SFTP service, you can avoid the complications of maintaining users' SSH public keys by using its graphical management console.
When you subscribe to the blog, we will send you an e-mail when there are new updates on the site so you wouldn't miss them.